News
DIY UV Nail Lamp Box: Simple Build Guide

If you're into DIY UV nail curing boxes, this guide might just be what you're looking for.
First, you'll need a high-power UV light board. The one shown below is commonly used in nail curing lamps — it's an aluminum board with 32 high-power UV LEDs.
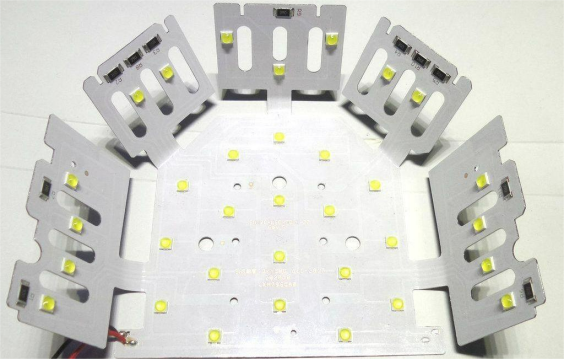
Each UV LED is estimated to be around 1W.
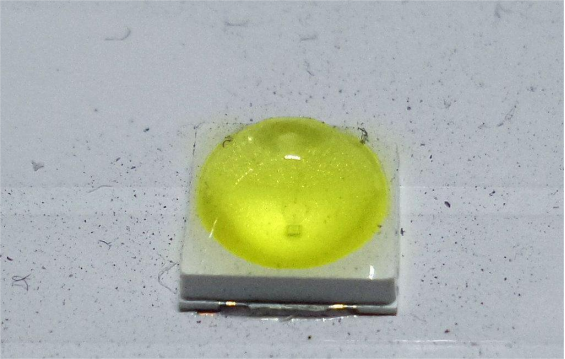
The light board requires more than 18V to power on. You'll also need a 12V/18V power supply, and you can tweak the voltage to suit the light board — something like this one below works perfectly.
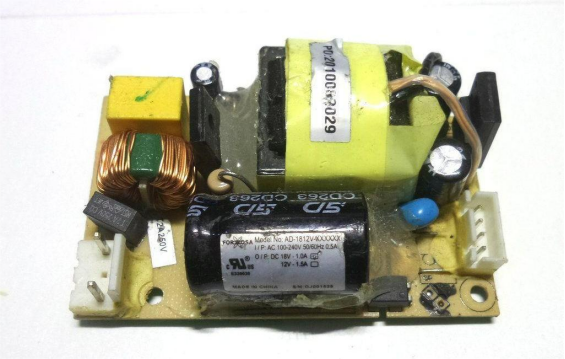
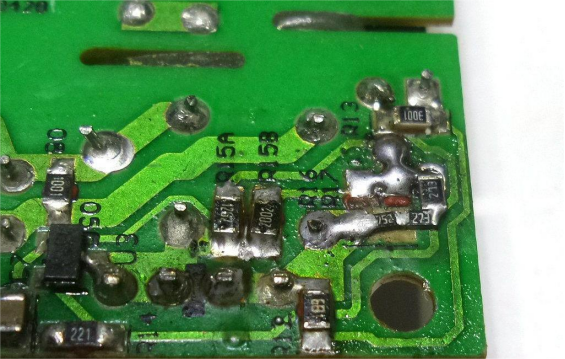
On the power board, there's a jumper that lets you choose between 12V and 18V output. You'll need to adjust the 431 resistor to bring the voltage up to around 21.5V. The board will then output roughly 12W of power. Any higher and the power supply may trigger overcurrent protection, and the light board will get too hot. Around 12W is ideal. You can test it with UV glue — it should fully cure in about two minutes.
Now that you have the light board and power supply ready, the only thing missing is a case. Since the board is quite large, using thin panels for the casing isn't very practical. You can use a component storage box like the one shown below — it makes a great enclosure.
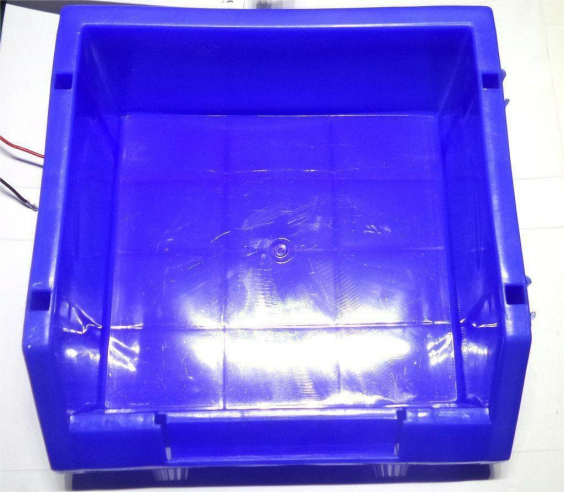
Then, place the light board inside and check how it fits.

Next, tuck the power supply into one corner, as shown below.

You'll need to modify the box a bit — cut off a section at the front so your hand can fit in easily.
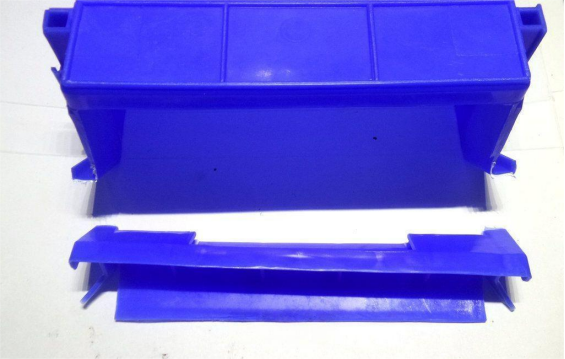
Secure the power supply in place first.
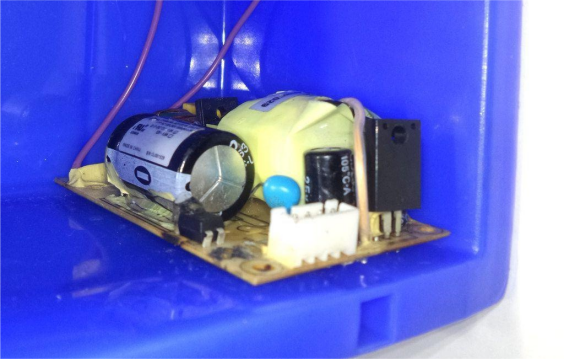
Don't forget to insulate the power board properly.
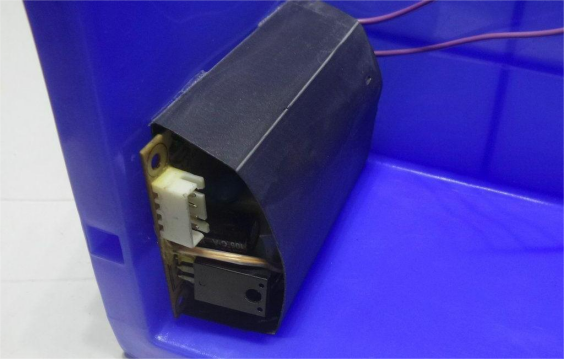
Then, cut out holes for the power switch and the figure-8 (IEC) power socket.
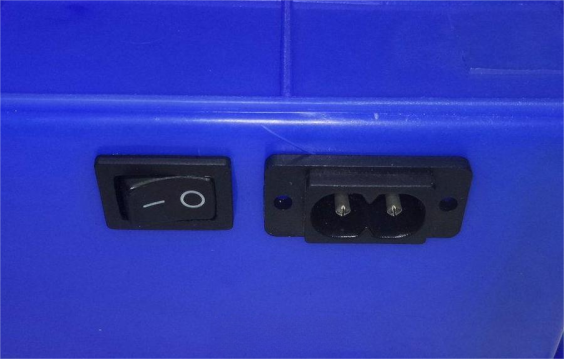
Once that's done, you can start wiring everything up.
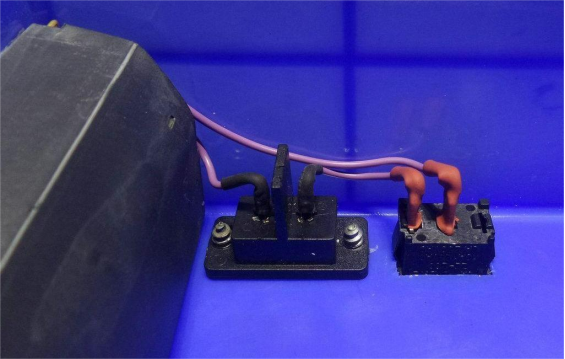
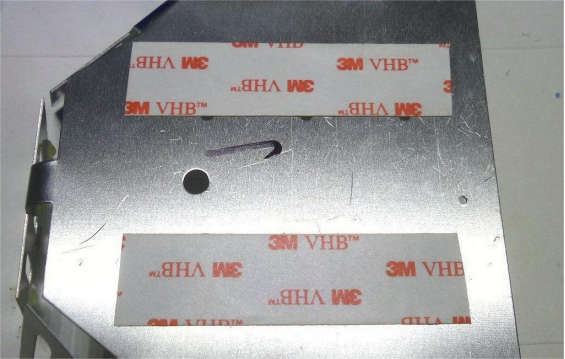
Stick the light board inside the box using 3M double-sided tape on the back of the board.
Add a plastic sheet over the power supply for insulation — if you don't plan to build a separate little box for it, this method works fine.
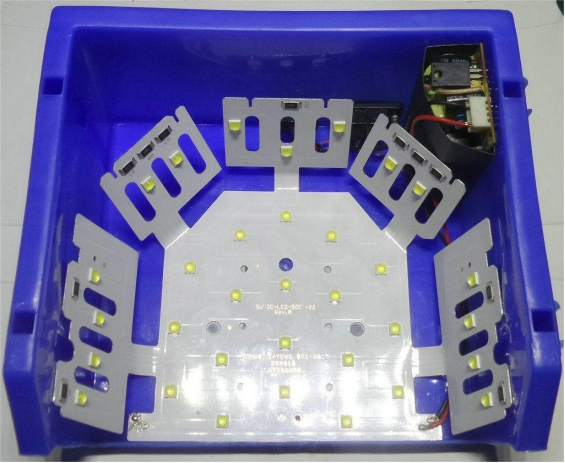
Here's what it should look like when finished — you can easily fit your hand inside!
Besides curing nail polish, this setup can also be used for exposing photosensitive materials.
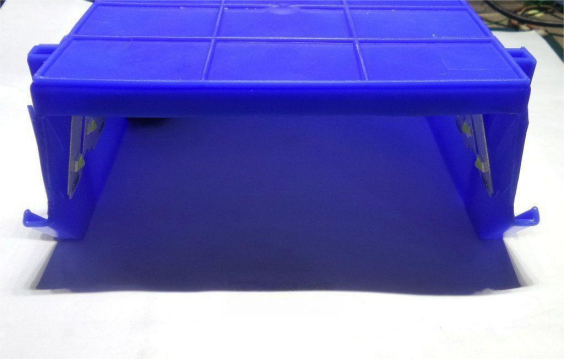
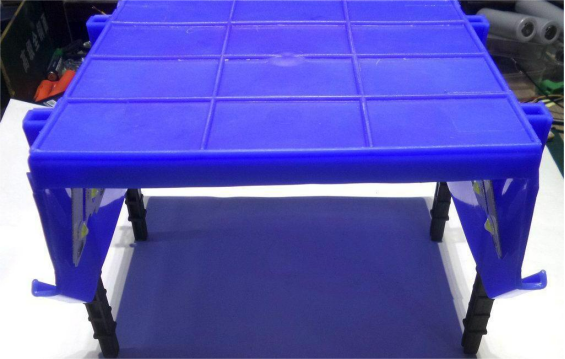
If you need to cure something larger, you can add four black stands to raise the height.
Here's how it looks when powered on — works like a charm!
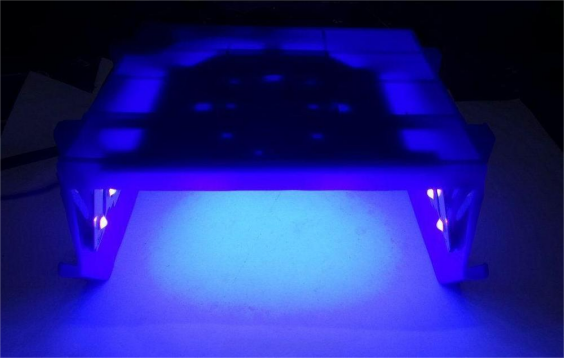
Done!


